
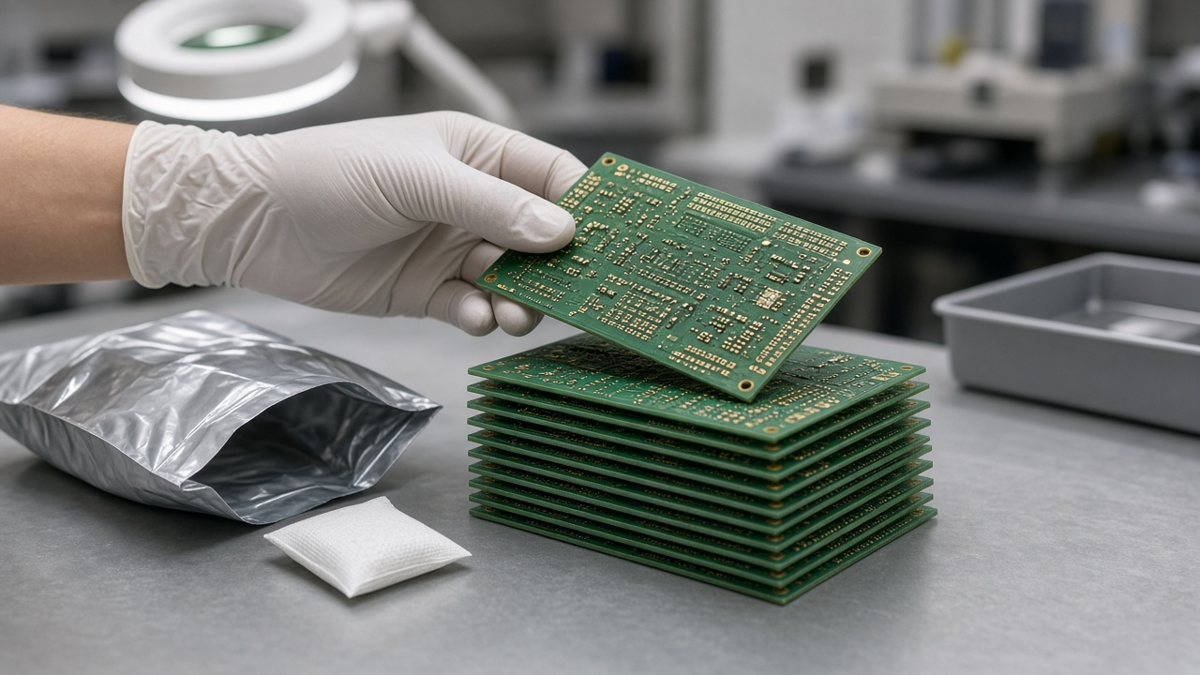
When a carton of bare boards arrives at your dock, the factory's quality gates are behind it. What remains is your own incoming quality control (IQC): the step that decides whether this lot goes to the assembly line, to a hold shelf, or back to the supplier. It is a short step in most companies, often a visual look, a count, and a signature. That is reasonable for many products, but it is also where a lot of avoidable assembly problems slip through, because nobody at the dock was asked to look at the documents that came with the boards or knew what those documents should say.
This article is about that buyer-side step. It is deliberately different from deciding which tests to buy from the factory; for that, see our PCB inspection and test menu, which maps test methods to risk on the purchase order. Here the boards have already been made and tested. The question is how your receiving team verifies what arrived, what evidence to review, which physical checks are worth doing at your site, and what to do when something does not match. We write from the factory side at XFPCB, which means we also see what happens when IQC rejects a lot for the wrong reason, or accepts one it should have questioned.
What IQC can and cannot prove
Start with honest limits. Incoming inspection of bare boards can verify:
- That you received the right part number, revision, and quantity.
- That the boards were packed and protected as required.
- That the documents promised on the PO are present and say what they should.
- That visible and measurable characteristics—dimensions, hole sizes, bow and twist, solder mask, legend, finish appearance—conform to the drawing.
- That a sample solders acceptably, if you choose to test it.
Incoming inspection usually cannot verify, non-destructively, the internal structure of the board: plating thickness in holes, inner-layer registration, interconnect integrity, dielectric thickness, or laminate type. For those, IQC relies on the supplier's evidence—microsection reports, coupon results, impedance reports, material certificates—and on its own ability to judge whether that evidence is real and relevant. A large part of good IQC is therefore document review, not measurement.
Step one: the shipment itself
Before opening anything, look at the packaging. Bare boards are moisture-sensitive in the sense that absorbed moisture can cause delamination or blistering in reflow, and some surface finishes degrade with exposure and handling.
- Packaging condition. Vacuum or moisture-barrier bags intact, no punctures, no crushed corners. Damaged packaging should be photographed before opening.
- Desiccant and humidity indicator. If a humidity indicator card is included, read it immediately on opening and record the result.
- Labels. Part number, revision, quantity, date code or lot number on every bag and on the carton. Mismatches between carton and bag labels are an early warning.
- Separation. Boards with sensitive finishes should be separated by appropriate sheets so that surfaces do not rub.
- Date code and shelf life. Surface finishes have practical shelf lives that depend on finish type and storage. Compare the manufacturing date code with your expected assembly date and your internal storage rule. If boards will sit for a long time before assembly, decide in advance whether you will bake, re-test solderability, or both.
If boards are not going straight to assembly, store them sealed. Opening bags for counting and resealing them poorly is one of the commonest causes of moisture-related problems we see later.
Step two: the documents
A lot that arrives with the right documents saves IQC most of its work. A lot with generic or missing documents should stop at the dock until resolved. Agree the required documents on the PO; then check them every time.
Certificate of Conformance
A Certificate of Conformance (CoC) is the supplier's statement that the lot conforms to the order. It is only as useful as its content. A useful CoC identifies:
- Supplier name and site of manufacture.
- Customer part number and revision, and supplier's internal job or lot number.
- Quantity shipped and date code.
- The specification the lot conforms to: your drawing number and revision, and the performance class or standard referenced on it.
- The material used, by manufacturer and product designation where required.
- Surface finish and solder mask.
- A statement that electrical test was performed, and against which netlist.
- Any deviations or waivers granted, with reference.
- Signature or authorization and date.
Red flags include a CoC that does not mention your revision, one that references a generic standard rather than your drawing, a quantity that does not match the packing list, or a document that is identical across several unrelated shipments. A CoC that states conformance to a class higher than the class on your drawing is not a bonus; it may mean the template was not edited.
Electrical test evidence
At minimum, confirm that the lot was electrically tested and that the test was against your netlist rather than against data extracted from the Gerbers. Some buyers ask for a test summary listing quantity tested, quantity passed, and the test method. If X-outs are present in arrays, confirm they are marked and counted.
Microsection reports
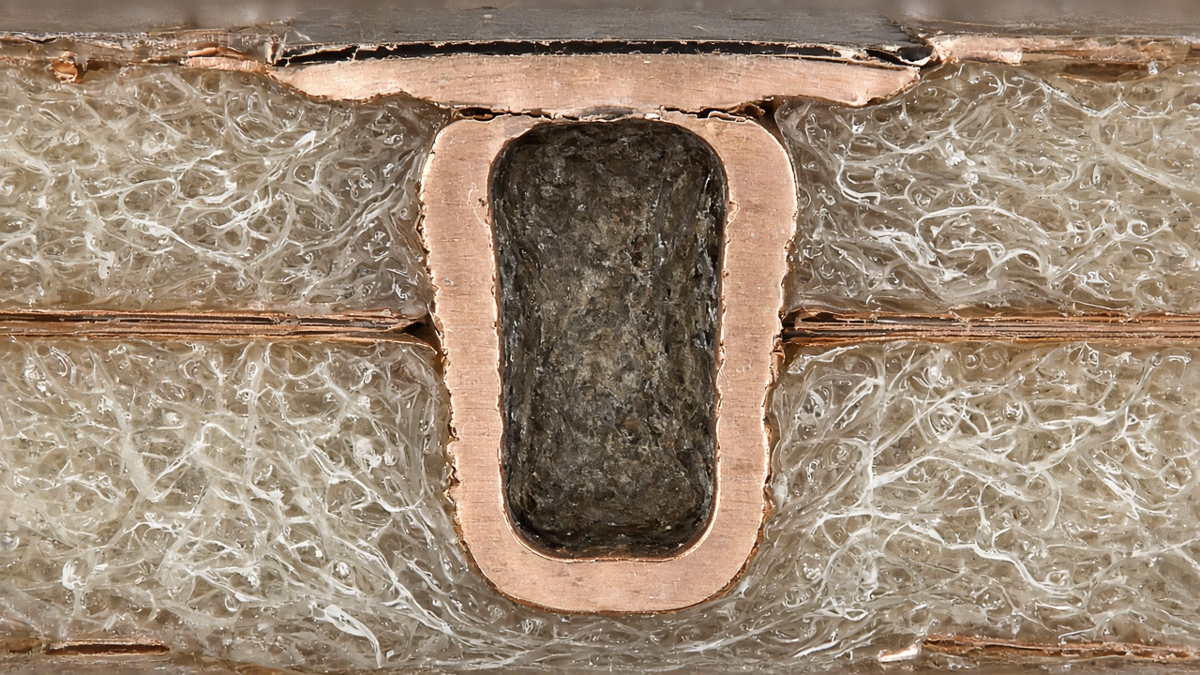
When the PO requires microsections, the report should be traceable to the lot—ideally to a coupon from the same production panel. Reading one well is a skill worth building in IQC.
- Traceability. Does the report identify the part number, revision, lot, and coupon or board serial? A report without lot traceability is a sample of something, not evidence for this shipment.
- What was measured. Plating thickness in the hole wall (minimum and often average), copper at the knee, surface copper, annular ring, dielectric spacing, and any registration observations. Compare each against the requirement on your drawing or the referenced performance class.
- Defects observed. Voids, cracks, separations, resin recession, wicking, and laminate defects should be reported, not just "acceptable."
- Conditioning. Was the specimen examined as-received or after thermal stress? Both may be required. If your drawing calls for thermal stress before evaluation, a report without it does not satisfy the requirement.
- Images. Ask for images rather than tables alone. An image lets you see whether the section actually passes through the center of the hole—an off-center section understates plating and overstates defects.
Impedance reports
For Impedance Control PCB orders, the impedance report is the main evidence that the controlled structures meet target. Check:
- That each controlled structure on your drawing appears in the report, with its layer, type (single-ended or differential), and target.
- Whether measurements were taken on coupons or on the boards themselves, and if coupons, that the coupon design represents the board's geometry and reference planes.
- That measured values and tolerance are both stated, and the pass/fail decision matches them.
- That the measurement method and equipment are identified.
A report with a single value per structure and no tolerance, or with structures that do not exist on your drawing, should be queried before the lot is accepted.
Material certificates
When your drawing specifies a laminate by manufacturer and product, or by a slash sheet of the relevant material specification, ask for material certification or at least the product designation on the CoC. Material substitution is one of the hardest problems to detect at IQC because two laminates look identical. The paperwork is the only practical check without destructive analysis.
Step three: physical checks worth doing at your site
Not every check needs doing on every lot. Choose by risk and by the history of the supplier and part number.
Identity and marking. Board revision etched or printed on the board matches the PO. Date code and UL marking (if required) present and legible. Legend readable, with polarity marks and reference designators where the drawing calls for them.
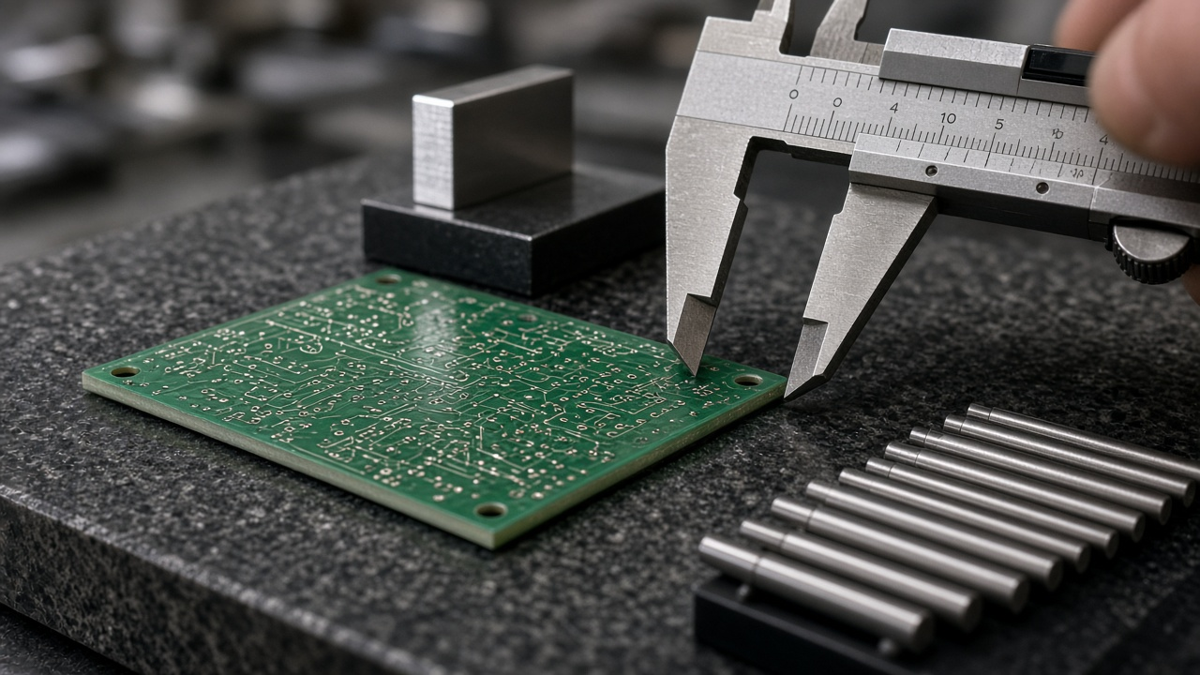
Dimensions. Outline dimensions, thickness, and critical hole positions against the drawing. Use calipers or a measuring microscope for outline and position; pin gauges for finished hole sizes, choosing plus and minus gauges at the tolerance limits. For press-fit holes, hole size is critical and worth checking on a sample from every lot.
Bow and twist. Measure on a flat reference surface using a method consistent with the referenced test method in IPC-TM-650, and compare against your drawing requirement or the referenced class. Boards close to the limit at incoming often exceed it after reflow; note marginal results even if they pass.
Solder mask. Registration to pads, coverage between fine-pitch pads where dams are required, no mask on pads, no exposed copper where it should be covered, and no peeling. A simple tape adhesion test on a sample can reveal poor adhesion, but agree the method with the supplier first.
Surface finish. Uniform color and appearance, no discoloration, no handling marks or fingerprints, no exposed copper through the finish. Finish thickness measurement (for example by X-ray fluorescence for ENIG) requires equipment; if you lack it, rely on the supplier's report and check appearance.
Cleanliness. No residues, flux, or contamination visible. Ionic contamination testing is possible at incoming if your process requires it.
Solderability. A small sample solderability test—dip or a short assembly trial—is a practical check if boards have been stored or if the finish has a history of problems. It answers the question that matters most to assembly: will this surface wet?
Step four: sampling
Most companies sample rather than inspect every board. A sampling plan should be written, not improvised.
- Choose a plan. Many companies use attribute sampling plans based on ANSI/ASQ Z1.4 or zero-acceptance (c=0) plans. Zero-acceptance plans reject the lot on any defect in the sample, which suits critical characteristics.
- Separate characteristics by severity. Critical characteristics (wrong revision, wrong material, holes out of tolerance for press-fit) may justify 100 percent inspection or rejection on any finding. Minor cosmetic characteristics can use a looser plan.
- Adjust by history. Tightened inspection after a reject, normal for a stable supplier, reduced after a long clean record. Write the switching rules.
- Keep retained samples. Keeping a few boards from each lot sealed in storage gives you material for later investigation if a problem appears in assembly or the field.
Step five: nonconformance handling
When IQC finds a problem, how it is reported decides how fast it is resolved.
- Quarantine the lot and record exactly what was inspected and found.
- Document with evidence: photos with scale, measurements, the drawing requirement, and the sample size.
- Distinguish defect from deviation. A characteristic outside the drawing is a defect. A characteristic within the drawing but not what you expected is a drawing problem; the fix is a drawing revision, not a reject.
- Contact the supplier promptly with the evidence. Ask for containment of other stock, a disposition proposal (rework, replace, use-as-is with your approval), and, for repeat or significant issues, a corrective action.
- Record the outcome in your supplier history so that sampling levels can be adjusted.
If an incoming problem turns into an assembly or field failure, the evidence you collected at IQC—photos, measurements, retained samples—becomes the start of the investigation.
Making IQC easier: agree it with your supplier
Most IQC friction can be removed before the first shipment:
- List required documents on the PO: CoC content, electrical test statement, microsection or coupon report, impedance report, material certificate.
- Specify packaging: moisture barrier bags, desiccant, humidity indicator, separation sheets, labeling.
- State your acceptance criteria: drawing, class, and any customer-specific requirements.
- Share your sampling plan and the characteristics you treat as critical.
- Agree how nonconformances are reported and answered.
Our Testing & Inspection page describes what we test and report at the factory side; aligning that with your IQC plan avoids both gaps and duplication. When material identity matters, our PCB Materials page lists the laminate families we work with, which helps match certificates to drawings.
How we support customer IQC at XFPCB
We ship each lot with documents that identify the customer part number, revision, lot, and quantity, and we tie electrical test, microsection, and impedance evidence to that lot when the order requires it. We pack bare boards in moisture-barrier packaging with labels that match the paperwork. When a customer's IQC raises a question, we ask for the same evidence we would want ourselves—photos, measurements, sample size, and the requirement—and answer with lot records rather than general assurances. Good incoming inspection is not adversarial; it is the last chance to catch a mismatch cheaply, and both sides benefit when it is done with clear criteria.